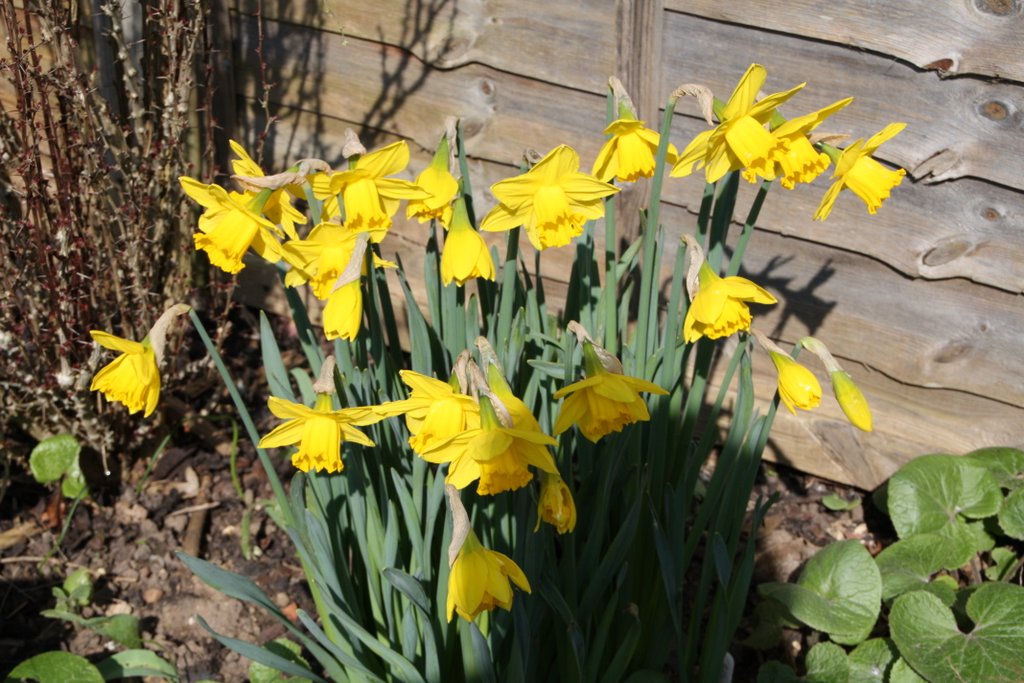
March is the start of spring, and with a bit of warm weather the garden begins to get growing.
As the garden wakes up, so will our main pests, so be prepared with your preferred defence against slugs and snails. They will be very keen to munch on your newly emerging herbaceous perennials.
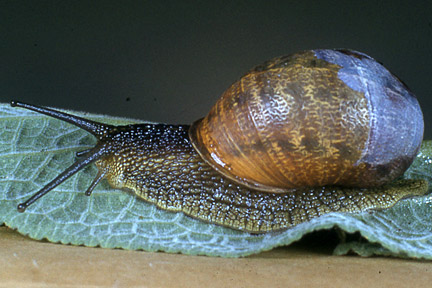
Snail (photo from RHS website)
Follow this link to the RHS (Royal Horticultural Society) website for lots of ideas on how to control these troublesome critters:
March is the month to prune established bush and standard roses.
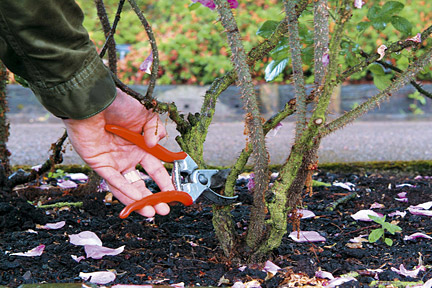
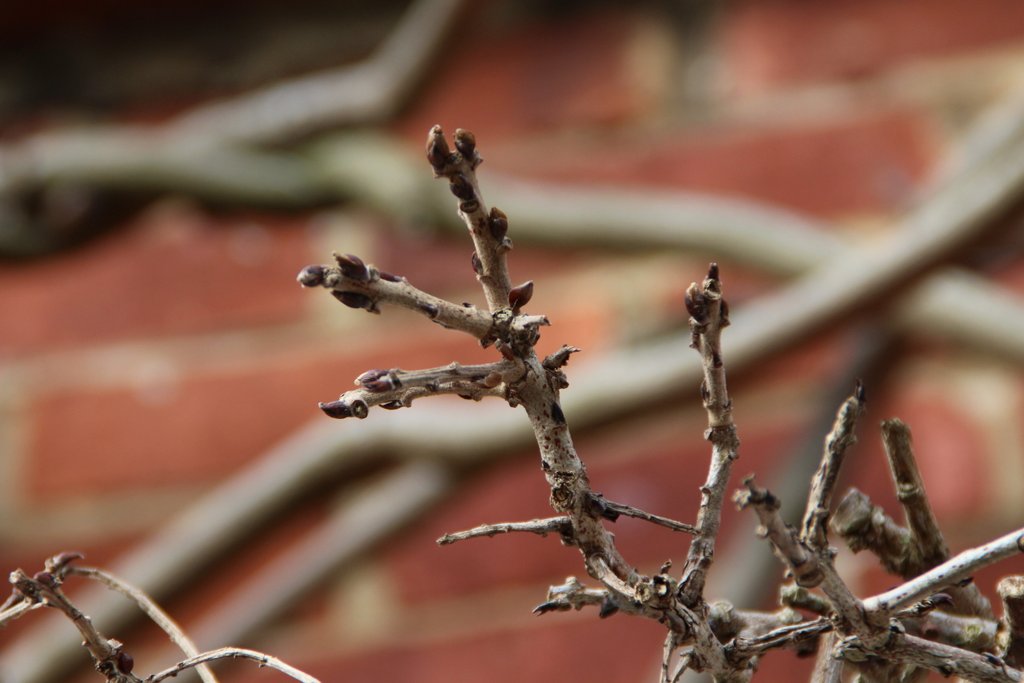
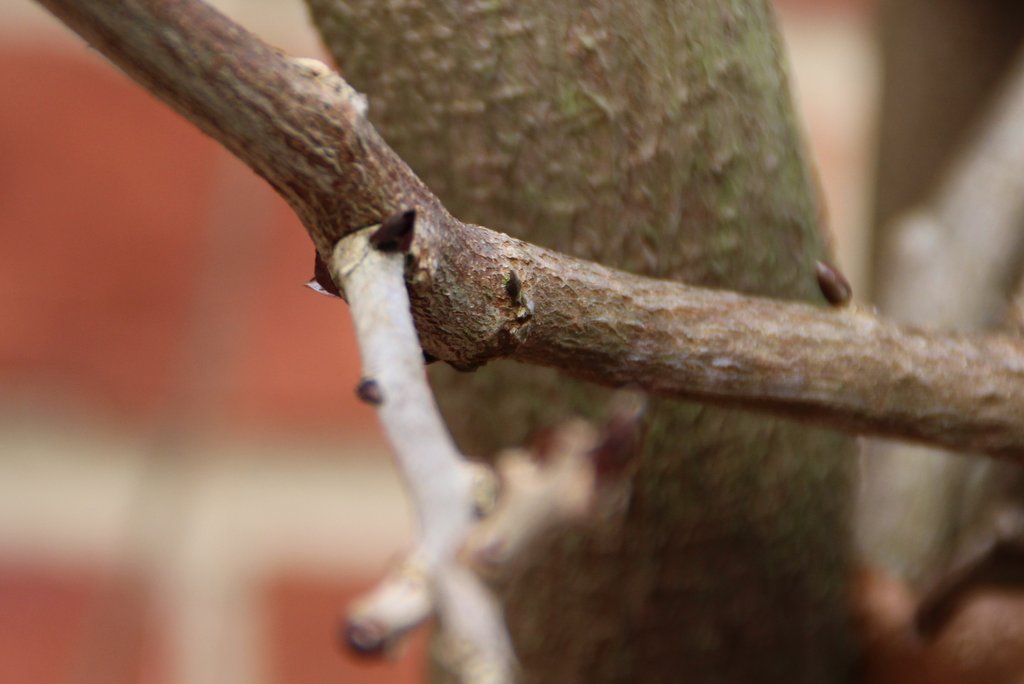
Rose pruning (photo from RHS website)
You are looking for an open framework – like an upturned hand of five fingers. First take out the three D’s (dead, diseased and damaged material). Then remove any rubbing or crossing stems, and cut back any spindly growth to 2-3 buds. If the bush is crowded, then take out some old shoots completely to keep the centre of the framework open.
For Hybrid tea (large flowered) bush roses, shorten the strong remaining shoots to about 15cm from ground level. (This is only 6 inches, so you are going to go quite low).
For Floribunda (cluster-flowered) bush roses, shorten the remaining strong shoots to 30cm from ground level.
For standard roses, the same guidelines apply, except that the measure is taken from the base of the branched framework
Always prune with a slanting cut just above an outward facing bud.
There are many books and on-line resources to help. In our opinion two of the best are the RHS guide and the advice and tips available from David Austin roses.
If you fancy some practical training on pruning in general, BCA (at Burchett’s Green) runs a pruning course amongst many other short courses on horticultural topics. See the BCA website.
You can also give your roses a balanced feed and mulch, although make sure the stems are kept clear of mulch so that the stems don’t rot and avoid covering up the graft point.
The grass will start growing more strongly this month, so get your mowers ready. If you grow potatoes, then a good place to put your early batches of mown grass (provided it is free of herbicides) is in your prepared potato trenches. As the grass breaks down it helps the soil to retain moisture and creates slightly acidic conditions, which can protect against common scab.
Finally, if you haven’t already done so, now is a good time to clean and disinfect used pots and greenhouses to prepare for the busy growing season ahead. You should remove all debris and wash with a mild solution of a disinfectant such as Jeyes Fluid. This will help to avoid fungal diseases such as dampening off, and get rid of any pests which have taken advantage of your hospitality over the winter.